Wall Services Overview for Property Owners
Visitors will learn about wall services offered by local contractors and how to compare and connect with nearby service providers.
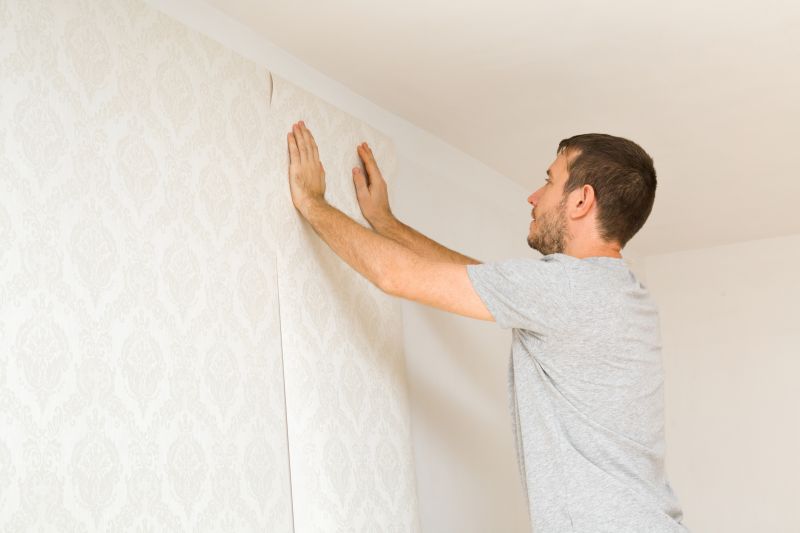
- - Wall repair and installation services for residential homes, including patching, framing, and finishing.
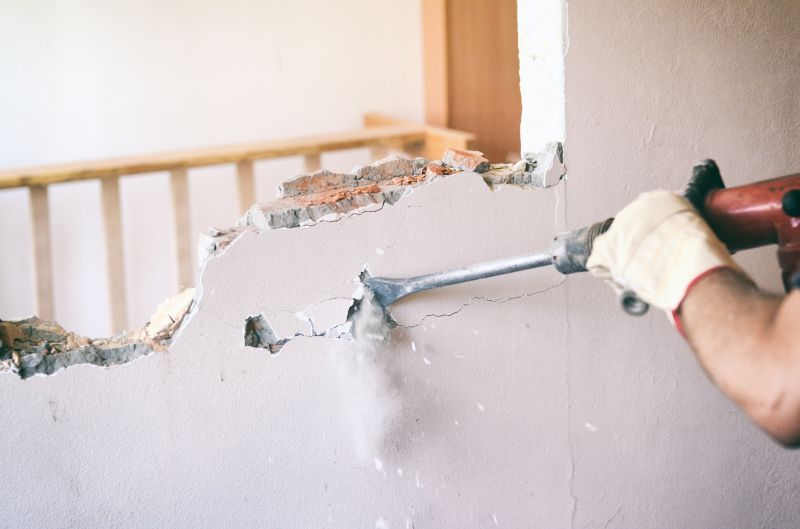
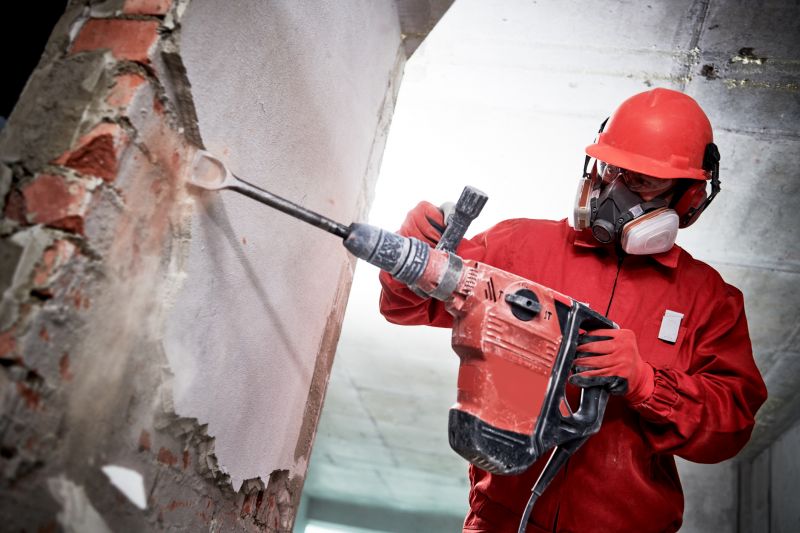
- - Local contractors specializing in interior and exterior wall services for commercial properties.
- - Service providers skilled in drywall, plaster, and surface preparation for renovation or new construction projects.
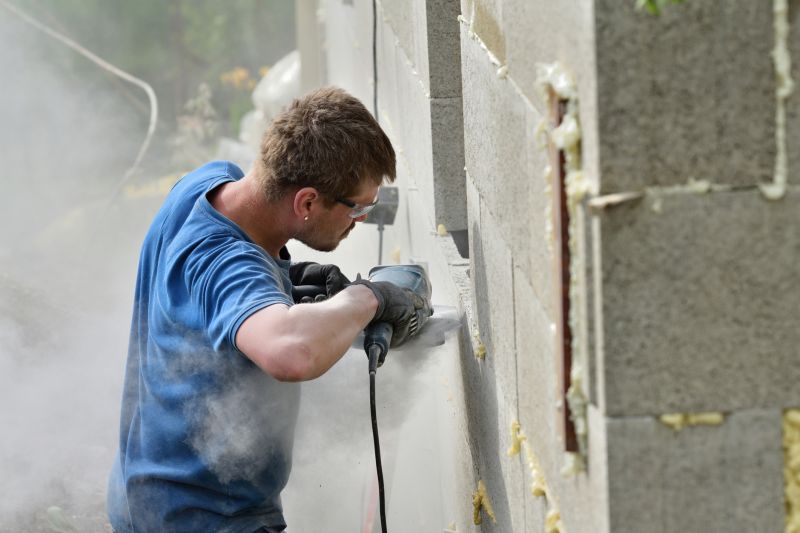
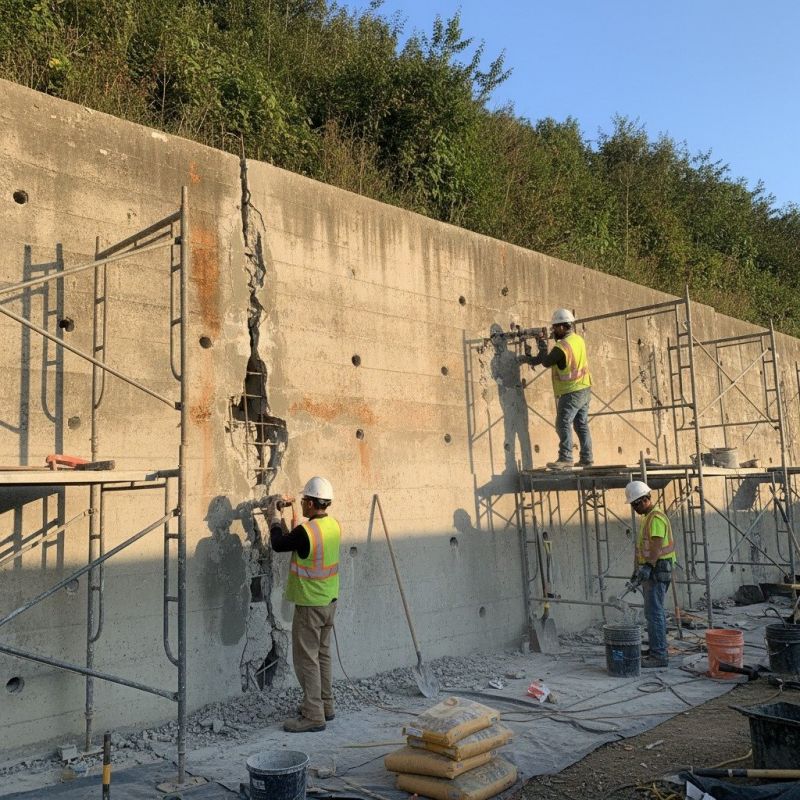
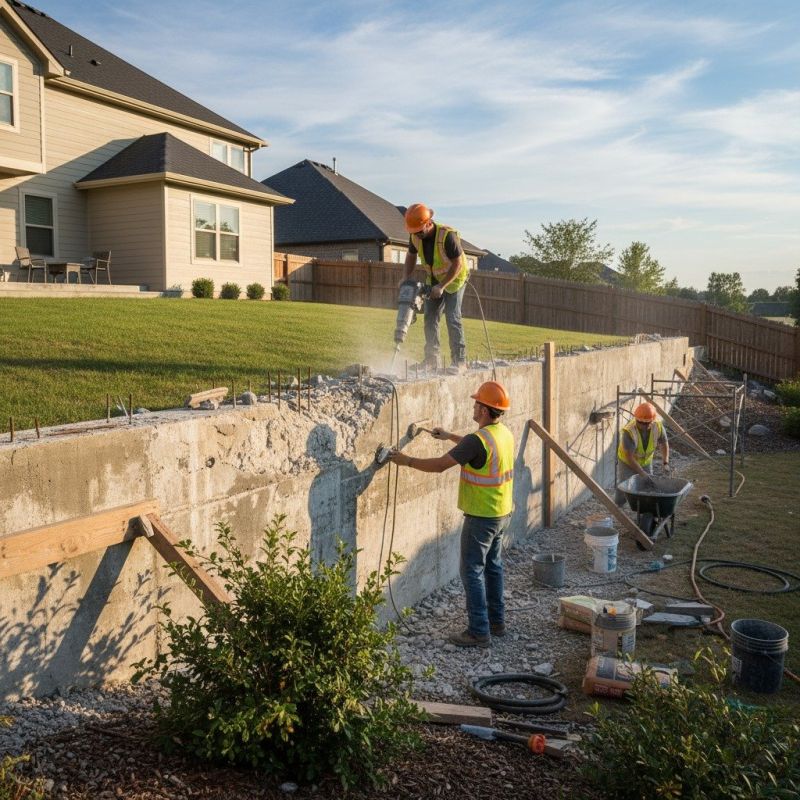
Wall services encompass a variety of projects, including installing new walls, repairing existing structures, or modifying interior and exterior surfaces. Property owners often seek assistance from local contractors who specialize in wall work to ensure proper installation, structural integrity, and a finished appearance that matches their vision. These professionals handle a range of tasks, such as framing, drywall installation, plastering, and finishing touches, helping to create functional and aesthetically pleasing spaces.
Local service providers in wall work are experienced in managing different types of projects, whether it’s adding a partition, repairing damage, or updating an interior wall. Property owners can expect these professionals to assess their needs, recommend suitable solutions, and execute the work with attention to detail. Connecting with trusted local contractors can make it easier to find the right expertise for specific wall-related projects, ensuring the work is completed to standard and aligned with the property’s requirements.
This guide provides helpful information to understand the scope of wall services and what to consider when planning a project. It assists in comparing local contractors and service providers to find options that match your needs. The goal is to help you gather the basics of a job and make informed decisions before reaching out to local pros.